Sunday, April 26, 2015

valentine's conversation heart cookies


Well here it is, at the end of April, and I'm only now getting around to posting the cookies that I made for Valentine's Day! Better late than never, right? ;)

So for Melodie's class Valentine's party this year, one available item on the sign-up sheet immediately caught my eye ... COOKIES. As soon as I saw it, I knew I had to make these adorable conversation heart cookies that I had recently seen on Martha Stewart's site!


I ended up using my own trustworthy sugar cookie and royal icing recipes from my book, The Hello Kitty Baking Book, but you could of course go with Martha's recipe as well.


After I had baked and cooled my cookies, I outlined them with stiff icing, and then filled them in with runny icing.


I chose to stick to the cookie colors white, pink, pastel green, and yellow. Once I had let them dry overnight, instead of using a stamp like Martha does, I used red stiff icing (with the smallest tip, a Wilton #1 tip) to pipe cute messages on the cookies.


And for the final touch, I used stiff icing to pipe a final outline around each heart cookie.


The color combination is just too cute!


Happy belated Valentine's Day! :)

Sunday, April 19, 2015

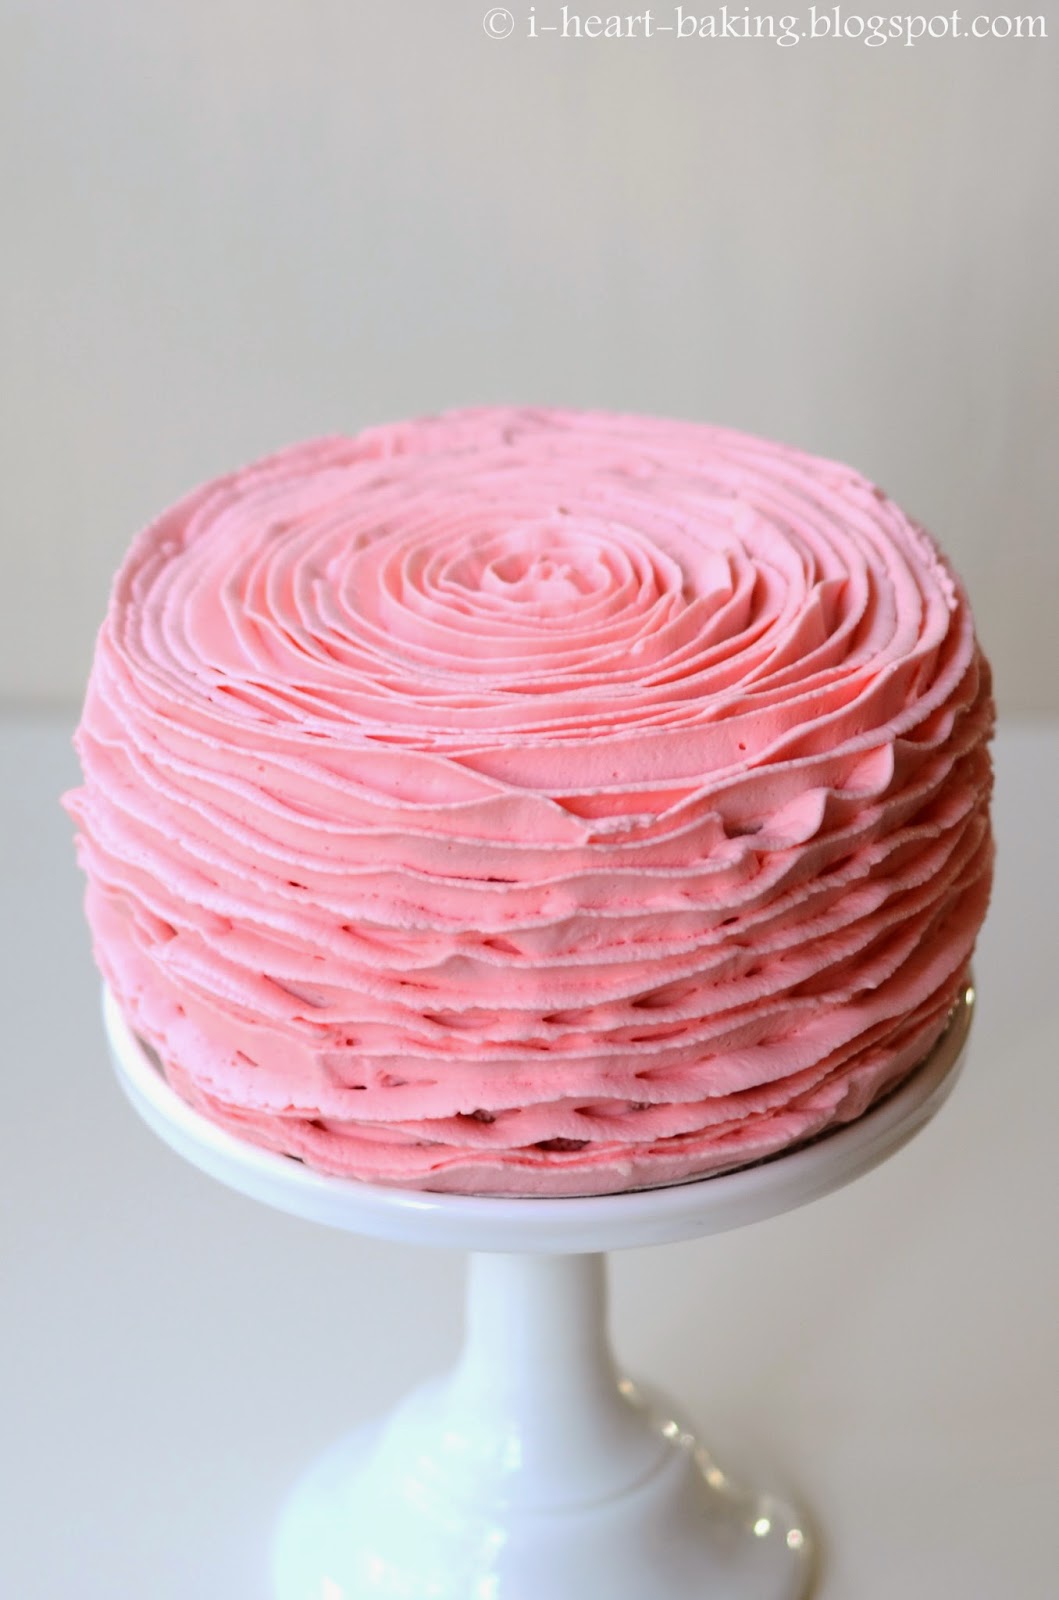
pink velvet ruffle cake with strawberries and whipped cream


As soon as I had finished making this frilly green tea ruffle cake, I already knew that I was going to make it in pink. And soon. In fact I made it exactly two weeks later, for my mother-in-law's birthday, as she was in town visiting us from Hawaii. She loves all things pink. And since she loves red velvet cake (thus this red velvet cheesecake rose cake that I made for her a few years ago, which happens to be THE most popular post on my blog), I decided to try making this pink velvet cake that I saw on I Am Baker's site a few weeks before!


With her recipe, I made four 6-inch cake layers (but decided to only use three of the layers). I filled each layer with pink whipped cream and fresh strawberries, and then covered the top and sides of the cake as well.


And then came the fun part, piping the ruffles! As with the green tea ruffle cake, I started from the middle, and kept going until the top of the cake was covered with a huge swirl of ruffles.


Then I continued with the ruffles along the sides of the cake, from top to bottom.


Boy, do I love the frilly look of this cake.


Here's a shot of the inside of the cake, with the sliced strawberries peeking out. Unfortunately, I wasn't so pleased with this part of the cake. I'm not sure what I did wrong, but my pink velvet cake layers turned out rather dense and heavy. Not the light and fluffy cake that I was going for, although the flavors of the cake combined with whipped cream and strawberries was still a great combo.


Happy Birthday to my mother-in-law!

Sunday, April 12, 2015

hello kitty pink basketweave cupcakes (and a hello kitty cupcake workshop!)


The first time I made these Hello Kitty basketweave cupcakes was back in 2010, when I made fresh strawberry Hello Kitty cupcakes with pink basketweave frosting for my friend Hsing's birthday! Since then I have made them several times (see here and here for more), and they even almost made it into my book, The Hello Kitty Baking Book! While we ended up going with cupcake options that were simpler, you can still find a basketweave tutorial and a pink basketweave cake in the book!

Then around the time that the Hello Kitty exhibit opened (at the Japanese National American Museum), I was contacted about giving a couple of workshops. One was a cookie decorating workshop which I ended up giving at Hello Kitty Con, and the other was a cupcake decorating workshop which I gave at the museum last month! I decided to show everyone how to pipe these basketweave cupcakes, even though they were cut from the book, because you can use the techinque in so many ways! Even the technique of piping the little Hello Kitty face can be used with many things, such as on the sides of a cake, in piping Hello Kitty meringue cookies, and making Hello Kitty macarons!


To prep for the workshop, I baked 6 dozen chocolate cupcakes (recipe in the book!) and prepped over a hundred piping bags with tinted buttercream frosting (recipe also in the book!).


Here's the setup of each station at the workshop.


And here's the workshop in progress! 


After the workshop, the museum had a book signing event to promote the book. This was super fun, as I got to talk with so many different people and discuss our love of Hello Kitty and baking! :)


And while I was giving the workshop and signing books, my sweet husband took our two oldest kids to see the Hello Kitty exhibit! (Our youngest baby stayed home with Grandma).


I had so much fun giving the workshop and being at the museum, I'm going to be super sad when the exhibit ends in May! But I hear that the exhibit may be travelling soon, so keep an eye out for the exhibit in a city near you!

Sunday, April 5, 2015

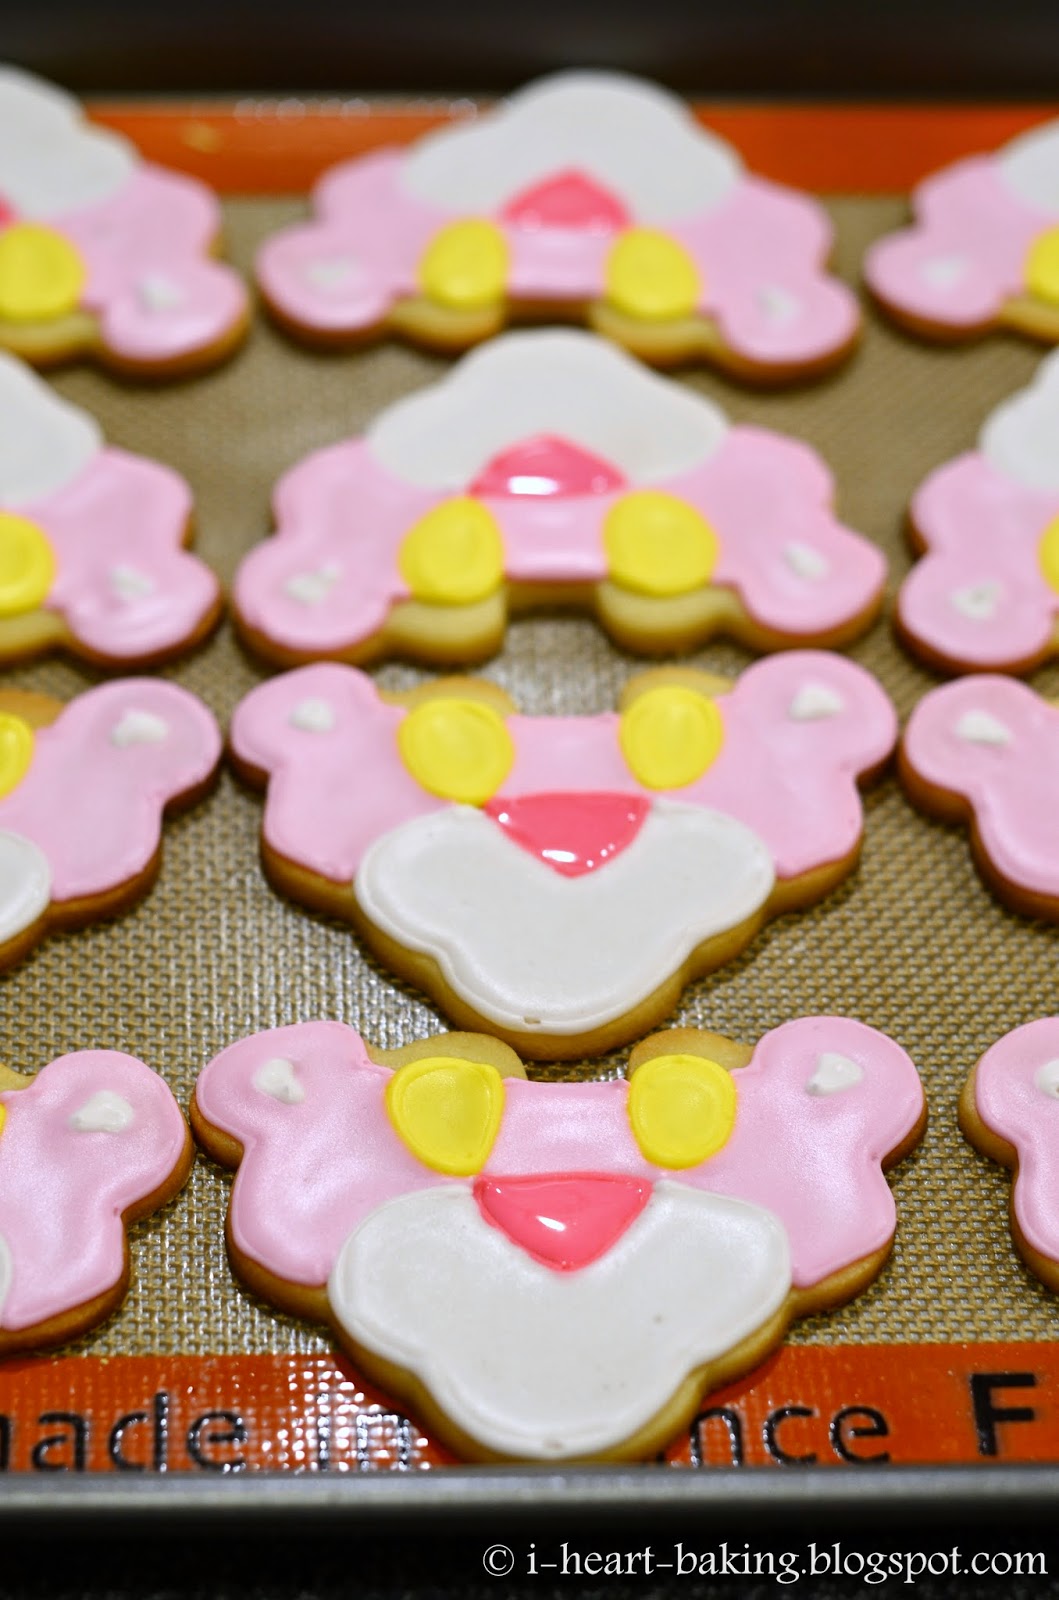
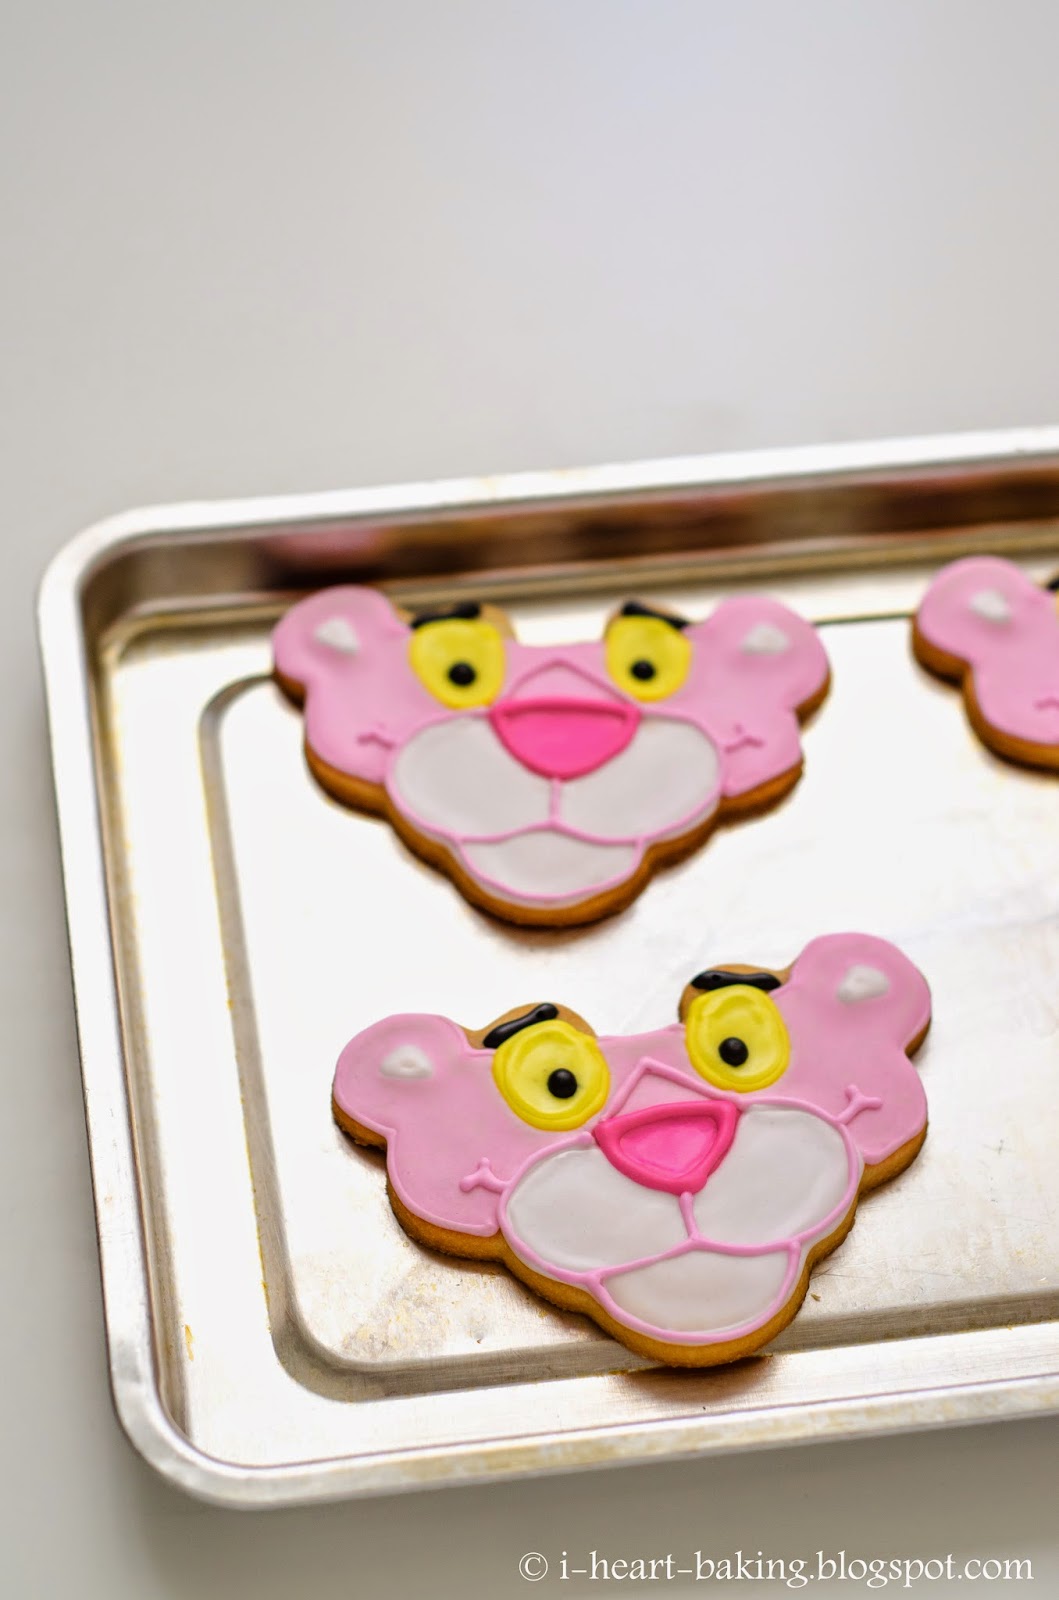
pink panther cookies


My friend Helen has a daughter named Marni who loves Pink Panther (in fact, she carries around her Pink Panther doll everywhere she goes! So adorable!), so when it was time to make the naked funfetti cake and rainbow cookies for her 2nd birthday party, Helen asked me to also make Pink Panther cookies!


Once again, my hubby made me a custom copper cutter (he's the best!), and once again I used the sugar cookie and royal icing recipes in my book, The Hello Kitty Baking Book.


After baking the cookies and letting them cool, I got to work with piping my icing. I started by using stiff yellow icing to pipe the outline for the eyes, and stiff hot pink icing to pipe the outline for the nose.


Then I filled in the eyes with runny yellow icing, and then used a stiff pale pink icing (although it ended up looking white instead) to pipe the outline of the muzzle and little triangles for the insides of the ears.


Next I filled in the muzzle with running pale pink icing, and used a stiff rosy pink icing to pipe the outline of the face.


After that I filled in the face with runny rosy pink icing, and filled in the nose with runny hot pink icing.


To add his features, I used stiff black icing to pipe the eyebrows and eyeballs.


And the final step was outlining his muzzle with stuff rosy pink icing, as well as defining his smile and the triangular part of his nose.


And then he was done!


Can't you just hear the Pink Panther theme song in your head?


Hope you enjoyed your cookies, Marni! They sure were fun to make!