Sunday, November 29, 2015

tron cupcakes


In the past few years, my son Matthew has always asked for some sort of superhero theme for his birthday. Last year was a Captain America party, the year before that was an Iron Man ice cream cake, the year before that was a Spiderman party at the zoo, and before that was a Superman party. But this year for his 8th birthday, he asked for TRON! To be more accurate, he wanted Tron cupcakes for his class party at school, and then he wanted a Star Wars cake for a party with a few of his friends.

But back to the Tron cupcakes! I had seen a cute design here, and it even had free printables for cupcake toppers! Awesome! So I set out to make my own version of these cupcakes.


First I started by making the Tron "identity disk" cookies to go on top of the cupcakes. I used a chocolate wafer cookie recipe in my book, The Hello Kitty Baking Book (look for the ice cream sandwich recipe!) and I used two different sized round cookie cutters to make my disk.


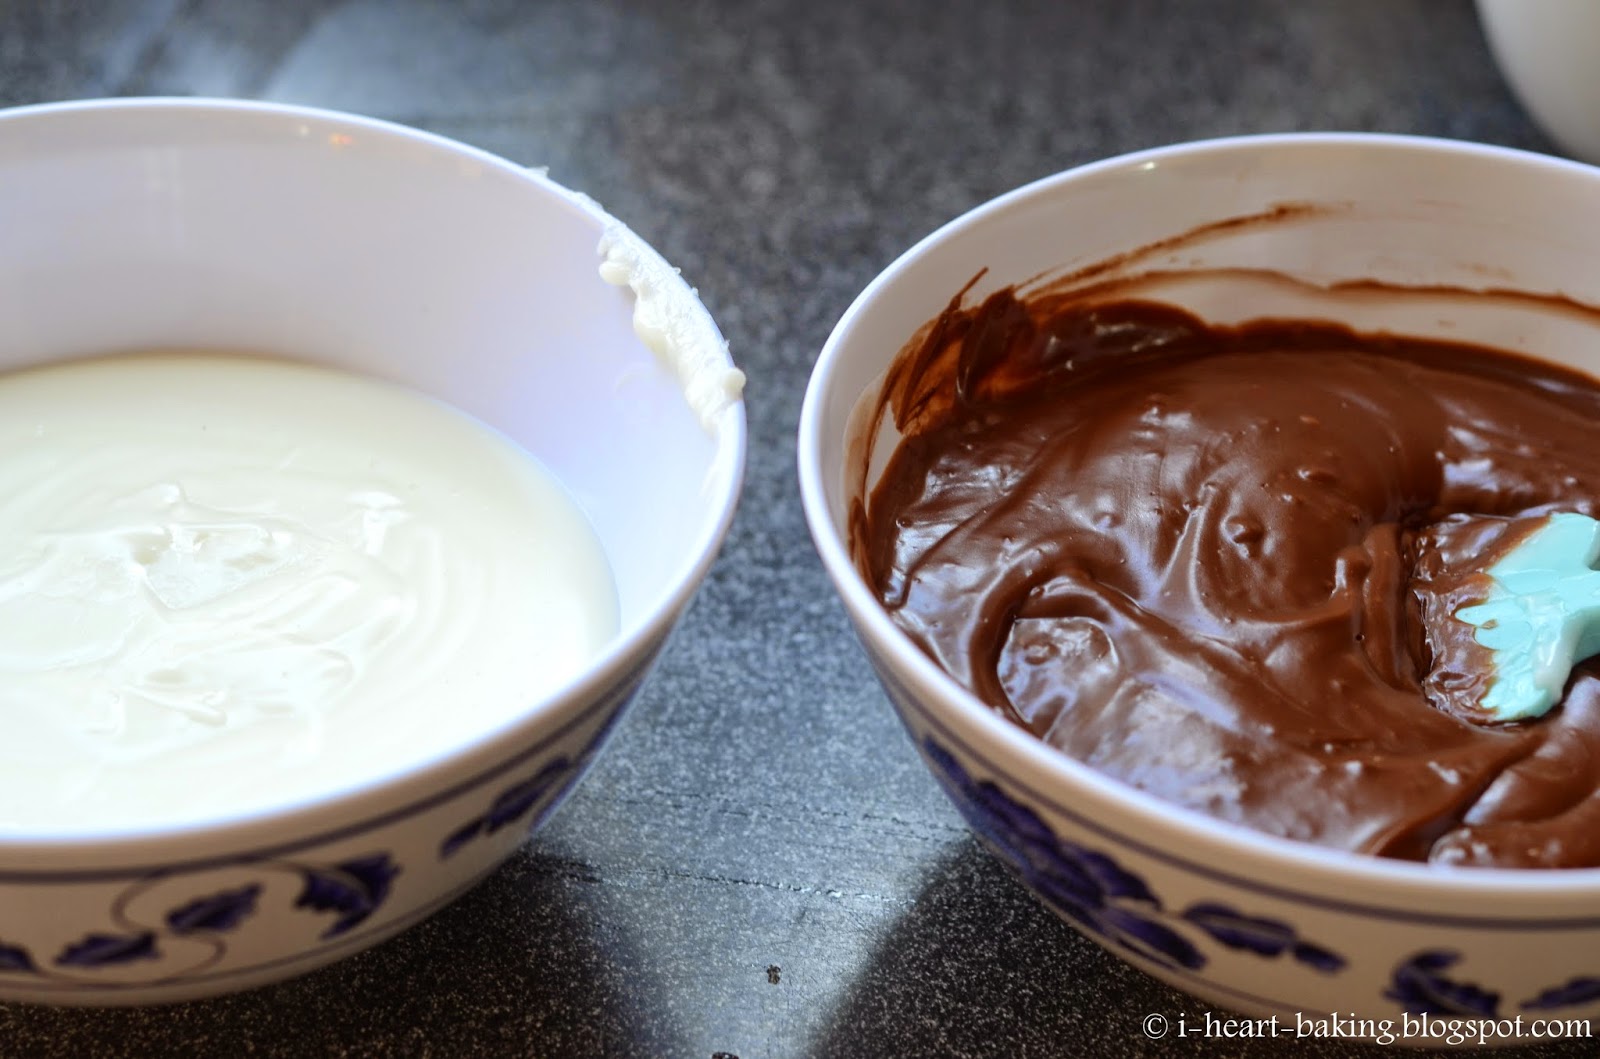
After baking and cooling the cookies, I used blue medium-stiff royal icing to decorate disks (royal icing recipe also in my book, and for the blue coloring I used a couple of drops of Americolor royal blue).


The I moved on to the cupcakes. Matthew doesn't like chocolate cake (I know, who doesn't like chocolate cake?!?), so I made vanilla cupcakes instead (recipe also in my book!).


Once the cupcakes were cooled, I used a medium star tip to cover the tops of my cupcakes in a piped star design.


Then I topped each cupcake with a disk cookie, and a printed Tron cupcake topper (using the printable I mentioned above, which I then cut out and then attached to one end of a toothpick using scotch tape)!


Good thing I had found the printables, because without them I'm not sure anyone would know that they were Tron cupcakes!


Happy 8th birthday, my Matthew! We love you!


Stay tuned for the Star Wars cake and cookies in my next post!


Sunday, November 22, 2015

leaf cookies


A few weeks ago, I received an assortment of 3D-printed cookie cutters from Cookie Cutter Kingdom, and one of them was this awesome leaf cookie cutter, which was perfect for fall! So when my two oldest kids told me they were having a Thanksgiving potluck at school, I thought it would be perfect to make leaf cookies in fall colors!


I started by making my favorite sugar cookie dough (recipe in my book, The Hello Kitty Baking Book), and using my new leaf cutter to cut out the shapes. The cutter was the perfect size, cut nice sharp edges in my cookie dough, and the smooth plastic prevented the dough from sticking to the cutter, which was great!


After baking and cooling the cookies, I started on the royal icing (recipe also in my book!). After tinting my icing, I used stiff orange icing to outline each leaf, and then running orange icing to fill them in.


Then after they had dried for several hours (overnight), I used stiff orange icing to go back and pipe the leaf details.


I also made them in brown...


... and red!


I love this combo of fall colors!


Thanks again for the cutters, Cookie Cutter Kingdom! They are awesome!

Wednesday, November 18, 2015

chocolate haupia pie


Last year for Thanksgiving, I didn't make my usual pumpkin pie. Not even my Hello Kitty pumpkin pie! My in-laws were in town visiting from Hawaii, and I was in the mood for chocolate haupia pie. So I decided to make it for our Thanksgiving dessert!

If you've never had haupia, its a Hawaiian coconut dessert - kind of like a cross between coconut pudding and coconut jello. But it's delicious. And in pie-form, it's even more delicious! Especially when combined with chocolate!

For the pie crust, I made a half batch of my favorite pie crust (recipe in my book, The Hello Kitty Baking Book!). I rolled it out, placed it in a 9-inch ceramic pie pan, and let it chill. Then to bake it, I pricked holes all over the bottom of the crust with a fork, covered it with parchment paper, and filled it with pie weights (or in my case, dried beans). Then I baked it at 375F for about 15 minutes. Once the crust was out of the oven I removed the parchement and baking weights, and let it cool. Then I got started on the filling!


The filling consists of two layers - a chocolate coconut layer, and a coconut layer on top. But it's so easy because you basically just make the coconut filling, then divide it in half and mix in melted chocolate with one half of it. (I used the recipe here). Then you pour in the chocolate layer ...


... followed by the coconut layer.


Smooth it out with an offset spatula. Then whip up a batch of freshly whipped cream (I like to flavor mine with confectioner's sugar and vanilla extract), and decorate the top of the pie with the whipped cream. You could just pour it on and smooth it out with an offset spatula, or you could fill a piping bag with a star tip, and pipe decorative stars or shells all over the top. (As you can tell, I chose the piping bag and star tip route, using this large star tip).


Then chill it in the fridge until ready to serve. Isn't it pretty?


And check out the inside!


Hope you have a Happy Thanksgiving!!!

Sunday, November 15, 2015

thanksgiving turkey cupcakes - apple cupcakes with cream cheese frosting


I made these Thanksgiving turkey cupckes last year, for my son Matthew's class Thanksgiving party. They were very rushed and last minute, but the idea was to pipe frosting in a design to look like the turkey's tail feathers. And I piped the face this time, instead of using an M&M like I did with the Thanksgiving turkey cupcakes I made a few years ago. (Those also used candy corn for the turkey tail feathers and turned out way cuter than these did, in my opinion.) Also I wanted something semi-healthy for the classroom of kids, so I made fresh apple cupcakes (recipe in my book, The Hello Kitty Baking Book!).


For the frosting, I used my favorite cream cheese frosting recipe (recipe also in my book!). I divided and tinted the frosting red, orange, yellow, and brown, and then used a pastry bag fitted with a leaf tip to pipe the feathers, starting with the red, then orange, and then yellow. (To see more of this method, check out my Christmas wreath cookies and Christmas wreath cupcakes - I use the same piping technique for the leaves!)


Then for the turkey's face, I piped a little blob of brown frosting in the center of the last row of feathers (you can use a large round tip or even just a coupler for this).


Then for the details on the face, I piped little black eyes, used an orange rainbow chip for the beak, and an upside-down heart sprinkle for the wattle.


If you make these, be sure your frosting is cold when you pipe the tail feathers. Don't be lazy like me and pipe with warm frosting, because then your piped tail feathers will look all sloppy and messy like mine! Whoops!


Enjoy!

Sunday, November 1, 2015

ombre watercolor camouflage inspired cake


The past few years, I've always made some sort of camouflage cake for my husband Grant's birthday every year. Such as this camouflage petal cake, or this pom pom camouflage cake, as well as this piped shells camouflage cake (which by the way, was also had a camouflage surprise, inside the cake!). This year I wanted to do something simple, and since I recently fell in love with this watercolor cake by Sweetapolita, I decided to make a camouflage-inspired watercolor cake!


I had also recently made this vanilla cake with fresh blueberries and lemon whipped cream, and decided to make it again for the inside of the cake. So I baked up two 6-inch vanilla cake layers (half batch of the vanilla cake recipe in my book, The Hello Kitty Baking Book), and divided each layer in half horizontally, giving me four layers. Then I whipped up a batch of freshly whipped cream, flavored with fresh lemon zest and lemon juice, and filled each layer with the lemon whipped cream and fresh blueberries.


Next, I made my camouflage colors - I divided the remaining whipped cream into thirds, left one portion white, tinted the second portion green, and the third portion brown. Then using an offset spatula, I covered the top third of my cake with white whipped cream, the middle third with green whipped cream, and the bottom third with brown whipped cream.


Then I smooth it all out (a long metal spatula and a rotating cake stand works great for this!).


I loved it! Simple, rustic, and camouflage-ish.


And the inside! So cute with the dots of fresh blueberries.


Happy Birthday, my Love! Hope you enjoyed yet another camouflage cake on your special day! :)