Showing posts with label haupia. Show all posts

Wednesday, November 18, 2015

chocolate haupia pie


Last year for Thanksgiving, I didn't make my usual pumpkin pie. Not even my Hello Kitty pumpkin pie! My in-laws were in town visiting from Hawaii, and I was in the mood for chocolate haupia pie. So I decided to make it for our Thanksgiving dessert!

If you've never had haupia, its a Hawaiian coconut dessert - kind of like a cross between coconut pudding and coconut jello. But it's delicious. And in pie-form, it's even more delicious! Especially when combined with chocolate!

For the pie crust, I made a half batch of my favorite pie crust (recipe in my book, The Hello Kitty Baking Book!). I rolled it out, placed it in a 9-inch ceramic pie pan, and let it chill. Then to bake it, I pricked holes all over the bottom of the crust with a fork, covered it with parchment paper, and filled it with pie weights (or in my case, dried beans). Then I baked it at 375F for about 15 minutes. Once the crust was out of the oven I removed the parchement and baking weights, and let it cool. Then I got started on the filling!


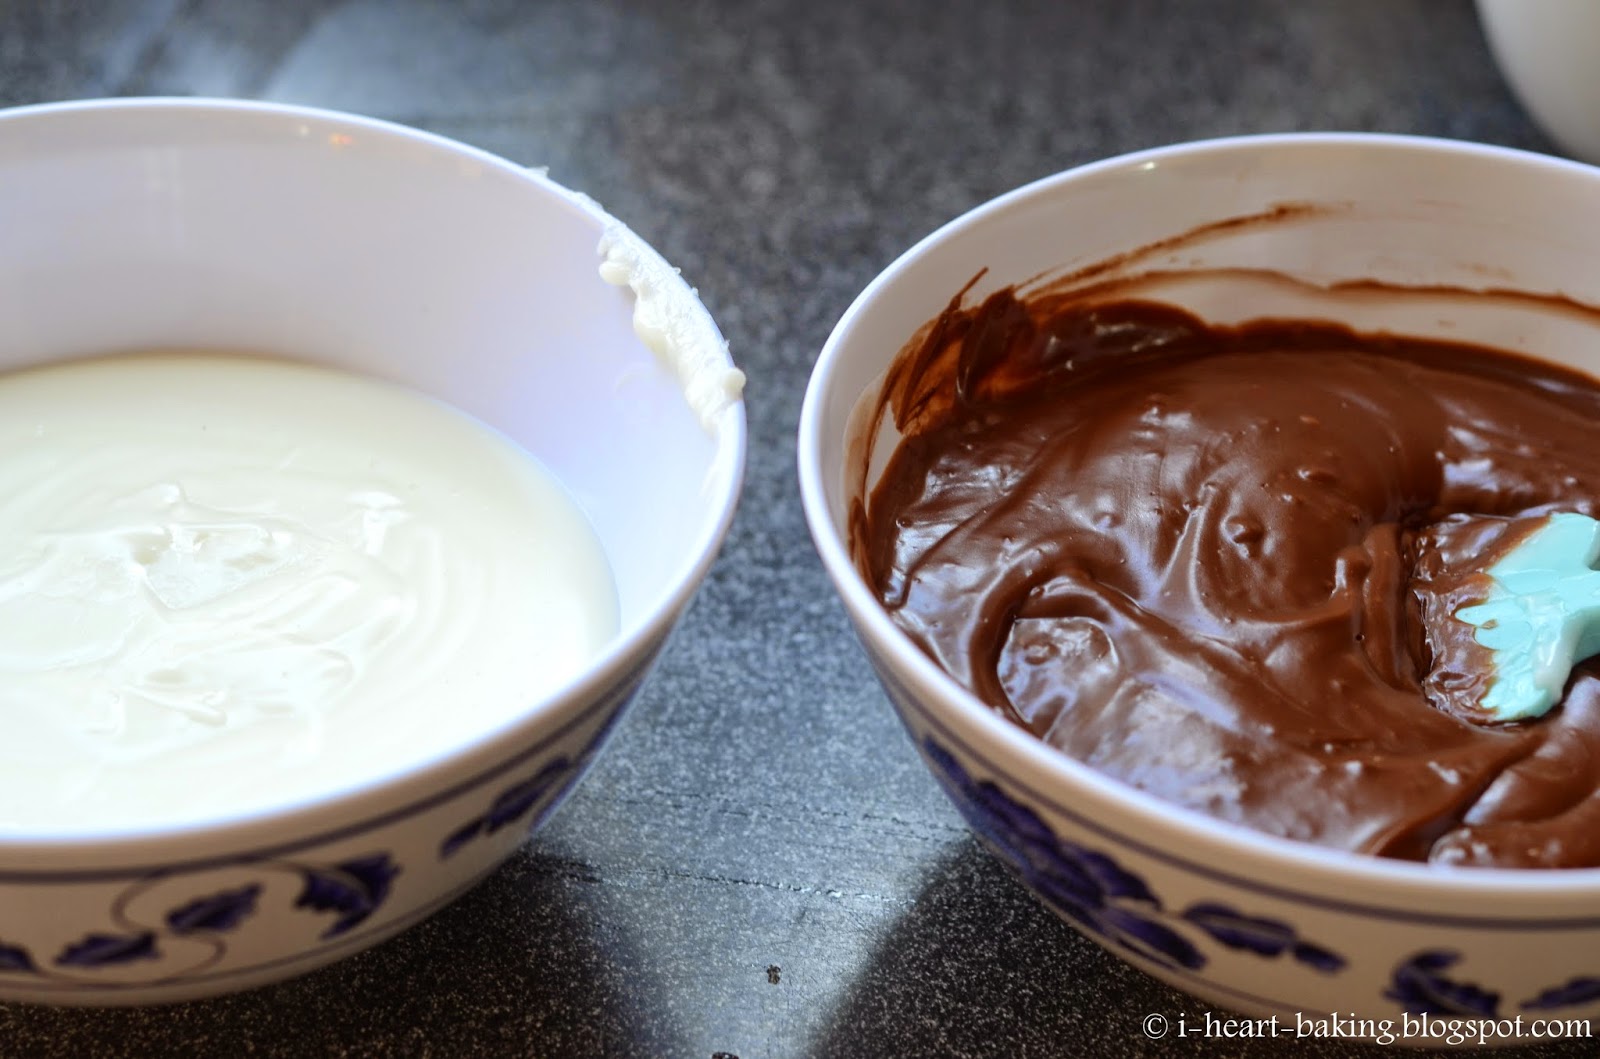
The filling consists of two layers - a chocolate coconut layer, and a coconut layer on top. But it's so easy because you basically just make the coconut filling, then divide it in half and mix in melted chocolate with one half of it. (I used the recipe here). Then you pour in the chocolate layer ...


... followed by the coconut layer.


Smooth it out with an offset spatula. Then whip up a batch of freshly whipped cream (I like to flavor mine with confectioner's sugar and vanilla extract), and decorate the top of the pie with the whipped cream. You could just pour it on and smooth it out with an offset spatula, or you could fill a piping bag with a star tip, and pipe decorative stars or shells all over the top. (As you can tell, I chose the piping bag and star tip route, using this large star tip).


Then chill it in the fridge until ready to serve. Isn't it pretty?


And check out the inside!


Hope you have a Happy Thanksgiving!!!

Tuesday, September 30, 2014

captain america cake with flag inside and haupia coconut filling


My oldest baby Matthew turned seven yesterday! This was the first year where he invited his own friends to his birthday party (as opposed to us inviting our friends and their kids!) So he invited three kids from school, and then my family and our neighbors also came to celebrate with him!

This year he wanted a Captain America cake, so Captain America cake he got! On the outside AND on the inside! I've always wanted to make a flag-inside cake for July 4th or something, like this one at 17 and Baking, but never had the chance ... until now!

For the inside of the cake, I made two batches of vanilla cake (recipe in my new book!), divided and colored them, and baked them in 8-inch round pans. One batch of vanilla cake will make two 8-inch cake layers, so I ended up with four cake layers. Since I only needed three (one red, one white, one blue), I wrapped the fourth layer really well in plastic wrap and froze it for later.


To fill the layers, I made a haupia coconut whipped cream filling, based on Matthew's love of coconut (he recently decided that chocolate haupia pie from Ted's Bakery in Hawaii was his favorite dessert ever!). To give my whipped cream a nice coconut flavor, I used Trader Joe's coconut cream, since it was thicker and more concentrated than regular coconut milk.


To assemble the cake, I cut both the white and red cakes in half horizontally. The first white layer went on the cake round, and then I filled it with the coconut whipped cream. Then the first red layer went on top, along with another layer of coconut whipped cream.


Next I took a 4-inch cookie cutter, and cut out the middle of my blue cake layer (this layer does not get cut in half horizontally). Then I also used the 4-inch cookie cutter to cut out my remaining white and red layers.


Then I placed the blue ring layer on top, with the 4-inch white cake layer on the inside of the ring, more coconut filling, and then the 4-inch red cake layer. This is what makes the flag inside!


For the outside of the cake, I whipped up a batch of cream cheese buttercream (recipe also in my new book!), and did a quick crumb coat on the top and sides of the cake. Then I used a toothpick to draw my Captain America design on the top of the cake.


 Finally, I used used the markings to fill in the design with piped stars - white for the star, blue for the circle around the stars, and then alternating rings of red and white.


Matthew loved the cake! And it went perfectly with his Captain America shirt! :)


Although, he didn't even notice the flag inside! He didn't even realize it until I asked him about it on the way home! I had to show him a picture to prove it, and even then he asked "how come there are no stars on the blue part of the flag?"... (sigh)


He also only took one bite of the cake before running off to play with his friends, so he didn't even notice the coconut filling!

But, before bed that night we asked him on a scale of 1 to 10, how much fun he had at his party. At first he said it was a 10. And then he changed his mind and said it was 100! Awww...


Happy Birthday, my Matthew! Thanks for being such an awesome kid! :)

*** Update: You can also see the Captain America cookies that I made to go along with the cake, here!