Showing posts with label rose cake. Show all posts

Sunday, April 7, 2019

hello kitty floral wreath crown cake


It's my birthday month! Hooray!

One of my favorite things about my birthday month is all the coupons that I get from all of my favorite stores! And of course, celebrating with my friends and family! But also one of my favorite things is that I get to make myself a cake, and I try to think of a different Hello Kitty design every year. Last year when it was time to make my birthday cake, I was really into make floral wreath cakes, so I thought it would be really cool to make a Hello Kitty floral wreath cake, where the wreath in essense becomes a crown wreath for Hello Kitty!


I love coffee chiffon cake, and I love Neapolitan cakes, so for the cake insides I decided to do a Neapolitan combination of coffee (instead of chocolate), vanilla, and strawberry chiffon cakes. And then I filled each layer with freshly whipped cream.


For the frosting, I chose to do a Swiss Meringue buttercream (you can find the recipe in my book, The Hello Kitty Baking Book!) because I wanted something light and not too sweet, and I didn't want it to melt too quickly like a whipped cream frosting does.


After covering the top and sides of the cake with a quick crumb coat, letting it chill in the fridge for 30 minutes, and then doing a final smooth coat, it was ready to decorate!


I started by piping black frosting for the eyes and the whiskers, using a disposable pastry bag fitted with a small round tip, and then using a similar tip to pipe the nose with yellow frosting.


For the ears I attached fondant shapes that I had cut out ahead of time (you'll need to let it air dry for at least a day or two, so that the fondant is no longer floppy and will stand up on it's own). Since I knew I would be adding buttercream flowers, I piped a ring of whipped cream along the perimeter of the top of the cake, which helped to hold up the ears as well.


Then I added my buttercream flowers, which I had piped ahead of time and let harden in the freezer. (You can see more on this technique here). I chose to do a deep pink and white flowers, partly to match the inside of the cake, and partly because I like the color combo!


To finish it off, I piped dark green buttercream leaves (using this leaf tip) to fill in the gaps in between the flowers, and then it was done!


Doesn't Hello Kitty look so pretty with a floral wreath crown?!


And now, for the inside of the cake.


The cake was soft and airy and light, with just the perfect amount of sweetness.


Happy Birthday to me!


Sunday, August 27, 2017

buttercream flower floral wreath cake for mother's day


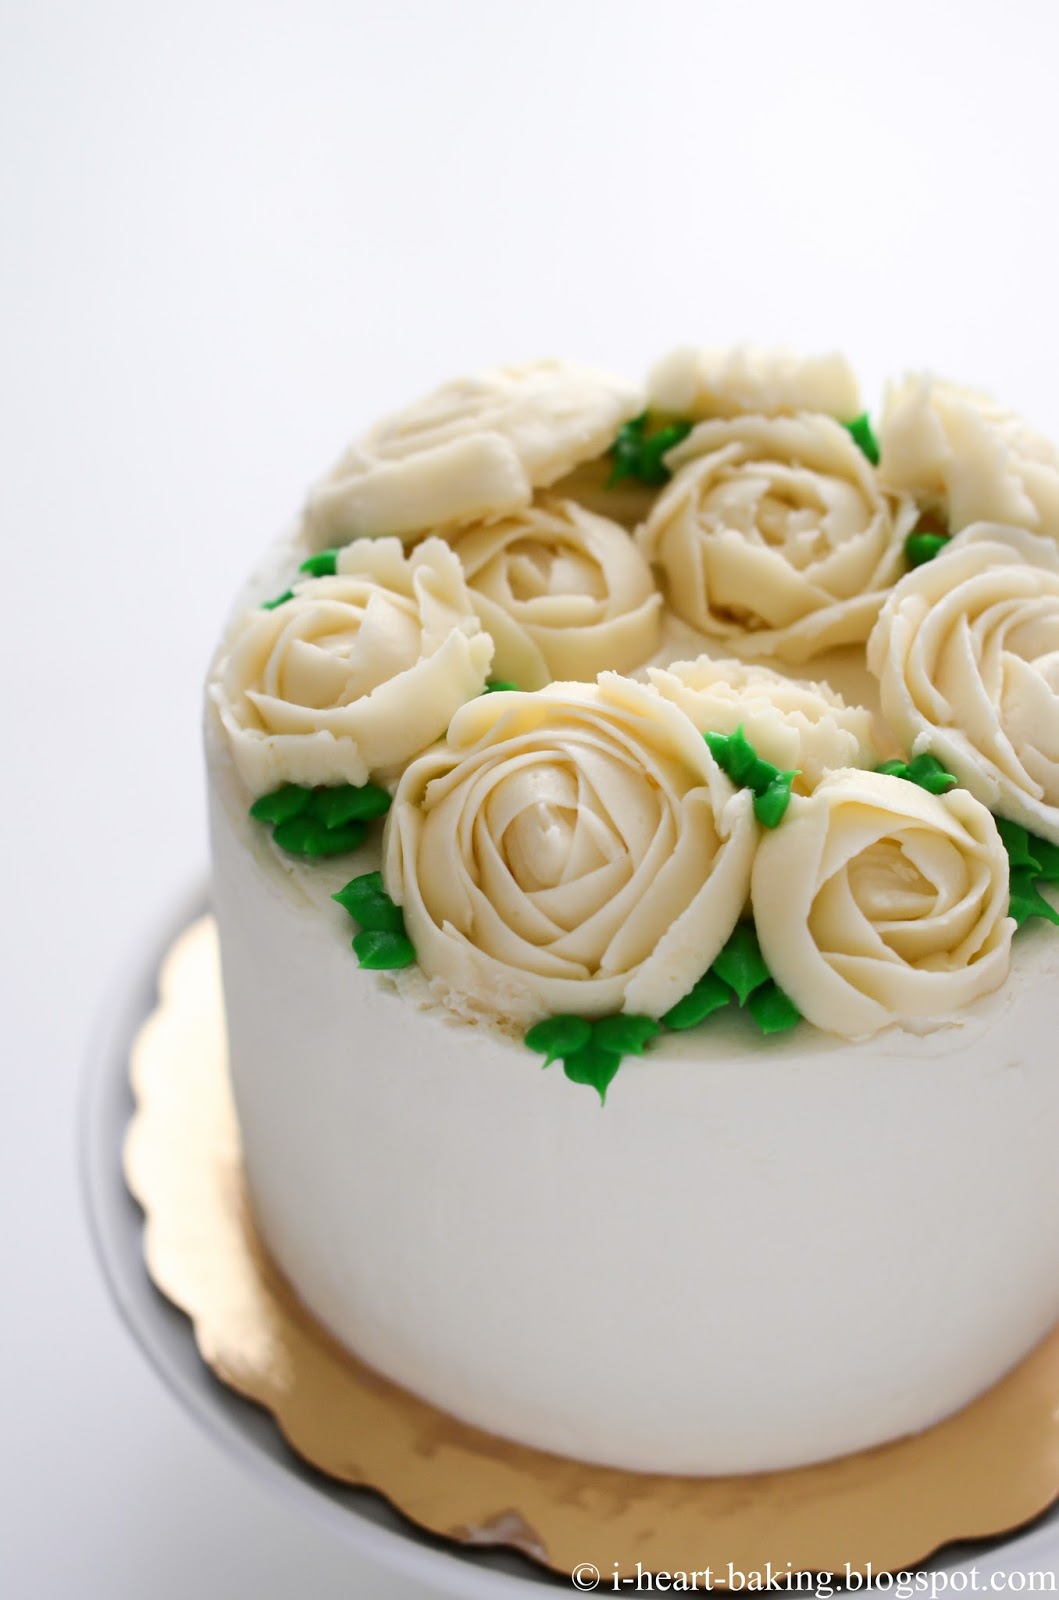
Last year for Mother's Day, I made a wreath cake with easy pink rosettes for the flowers. It was my first attempt at a floral wreath cake, and since then I've still been longing to make a more complex wreath cake like the ones I've been seeing all over Instagram and Pinterest. So this year for Mother's Day, I decided to make another wreath cake, this time with more realistic piped roses.

The day before making the cake, I prepped by piping out my buttercream roses. For each rose, I took my flower nail, smeared a bit of frosting on it in order to attach a little square of waxed paper that I had cut ahead of time, and then used a piping bag fitted with a petal tip to pipe my rose petals one by one. (You can see this technique on the Wilton website to get a better idea.) Then I pulled the wax paper off of the flower nail, with the rose still on it, and placed it on a small tray which I then immediately placed in the freezer. Once all my roses were done, I placed them all inside an airtight plastic container, which went back into the freezer until the next day.


The next day I made the cake, using my favorite vanilla cake recipe (in my book, The Hello Kitty Baking Book). I only made half the recipe, which with give you two 6-inch round cakes. Once baked and cooled, I sliced each cake in half, giving me four layers of cake. Then I filled them with freshly whipped cream, sliced strawberries, and freshly grated lemon zest.


Next I covered the top and sides of the cake with more whipped cream, and used an offset spatula to smooth it out as best as I could. (I did this twice - first for the crumb coat, and second for the final coat.)


I let it chill in the fridge for about 30 minutes, and then I was ready to add the roses. I started by piping a ring of whipped cream on the top of the cake, for me to nestle my frozen buttercream roses. I placed them on one by one, as quickly as I could so that the roses wouldn't break or melt while I was handling them.


When I was satisfied with the placement of the roses, I put some green buttercream in a piping bag fitted with a leaf tip, and piped little leaves around the roses to fill in the gaps.


And then ... I breathed a sigh of relief. It was done!


I loved the way it turned out! From the color combination of the green leaves against the white flowers, to all-white roses on the all-white cake. It was the perfect floral cake for Mother's Day, and I think it would be great even for a small bridal shower or wedding!


Happy Mother's Day!


Sunday, July 9, 2017

camouflage rose birthday cake - vanilla cake filled with lilikoi cream


For my husband's birthday this year, I made another camouflage inspired cake (surprise surprise!), as I typically do every year. I had recently been experimenting with multi-colored piped roses while making a unicorn cake for my daughter's birthday, so I thought for hubby's birthday it would be fun to do multi-colored piped roses in camouflage colors!

My husband is from Hawaii, so lilikoi (passionfruit) is a favorite flavor of his. On my mother-in-law's last visit, she had brought fresh lilikoi pulp, which she had frozen, seeds and all. So I decided to use a bit of this in his birthday cake!


After baking up two 6-inch round vanilla cakes (recipe in my book, The Hello Kitty Baking Book), I let them cool and then sliced them in half horizontally, giving me four cake layers. Then I made a small batch of fresh whipped cream, sweetened with powdered sugar and a bit of vanilla extract, and added several tablespoons of the strained lilikoi pulp (seeds discarded). I also brushed each cake layer with a bit of lilikoi juice, just to amp up the lilikoi flavor, before filling it with the lilikoi whipped cream.


Once the cake was filled and assembled, I used whipped up a batch of buttercream frosting to cover the top and sides of the cake. (Just a quick crumb coat - at this point it didn't have to be perfect, since I would be covering it with piped roses later on.)


Then I tinted a third of the remaining frosting brown, a third green, and left the final third white. I used a bit of each color to fill my piping bag, which was already fitted with a large star tip.


Then I proceeded to pipe rosettes along the sides of the cake.


I finished by piping rosettes to fill the top of the cake as well, and filled in the gap with little swoops and curls.


I thought it turned out pretty cute!


And I could definitely see myself doing the multi-colored rosettes in a variety of colors!


Happy Birthday, my love! Hope you enjoyed your cake! :)