Showing posts with label rhubarb tart. Show all posts

Friday, August 3, 2012

hello kitty strawberry rhubarb tartlets


What do you get when it's rhubarb season and you're at my house?  Lots and lots of rhubarb tarts!  This time I combined the Hello Kitty strawberry rhubarb tart from my last post, with another recent post on strawberry rhubarb tartlets, and so I made Hello Kitty strawberry rhubarb tartlets!

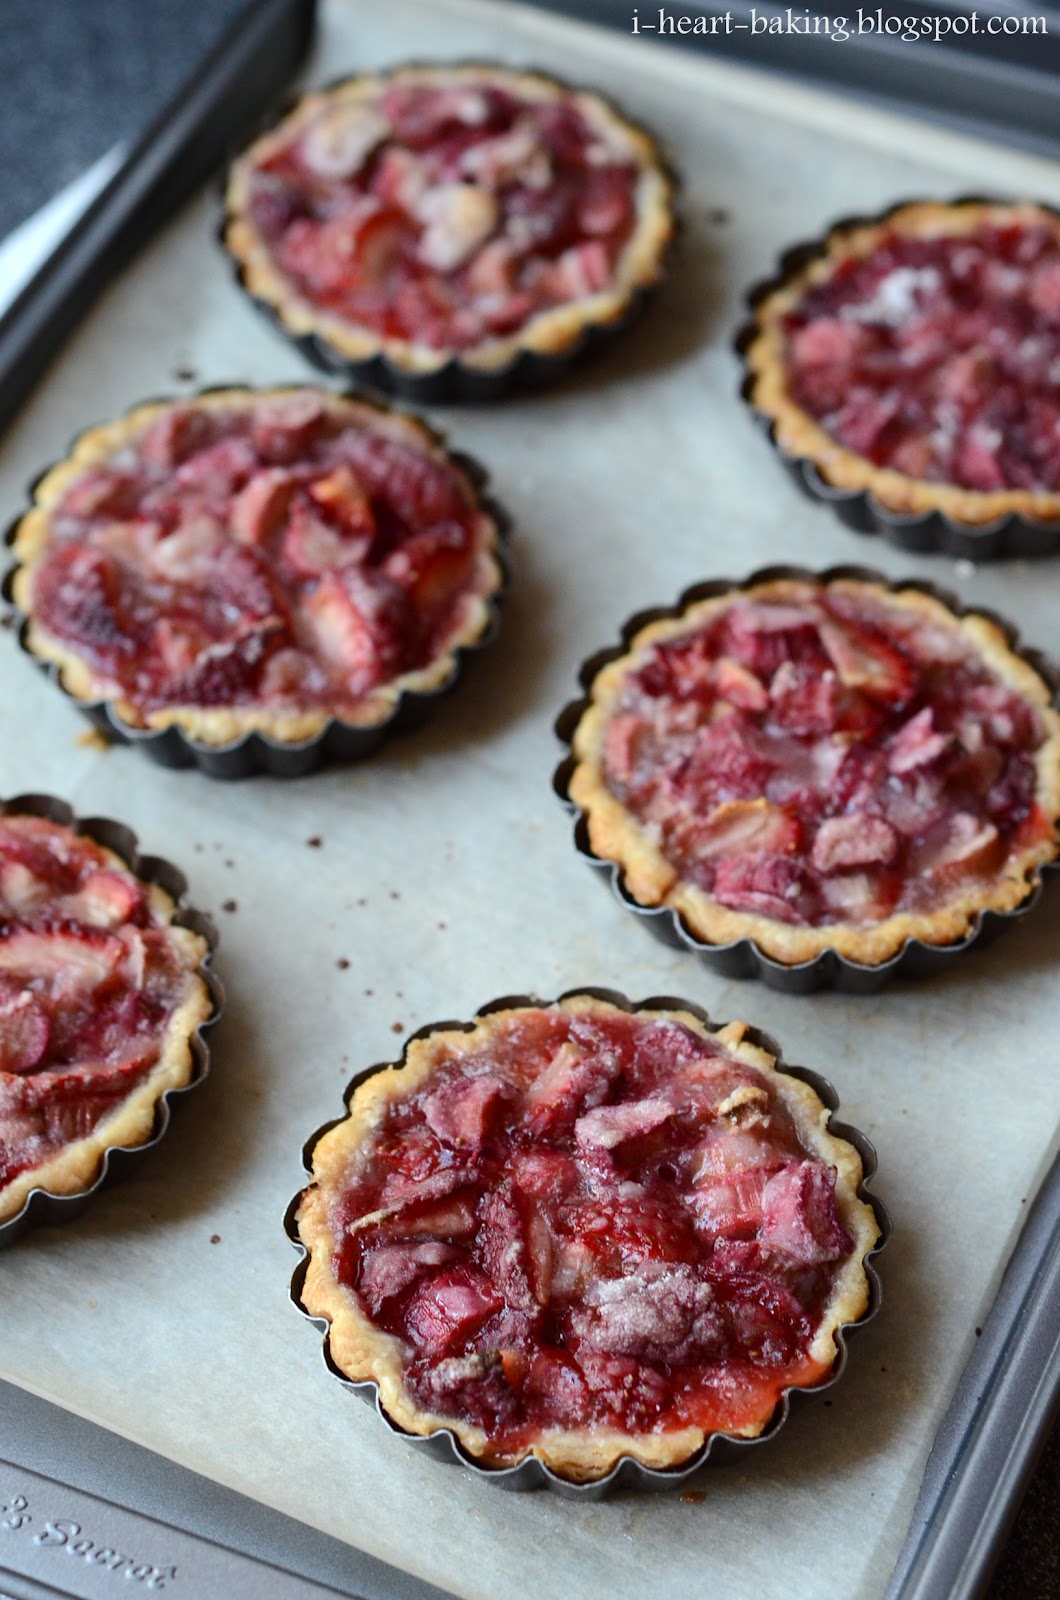
For the crust, I again made an all-butter pie crust, and divided the dough into 6 equal portions.  Then I  rolled each portion into a circle and carefully lined each tartlet pan.  After running my rolling pin over the top of each tartlet (to cut off the excess dough), I wrapped the extra dough in saran wrap and put it in my fridge, which I would use to make the Hello Kitty cut outs later on.


For the filling, I chopped rhubarb and strawberries into same sized chunks, and then tossed them with sugar, flour, and a pinch of salt.


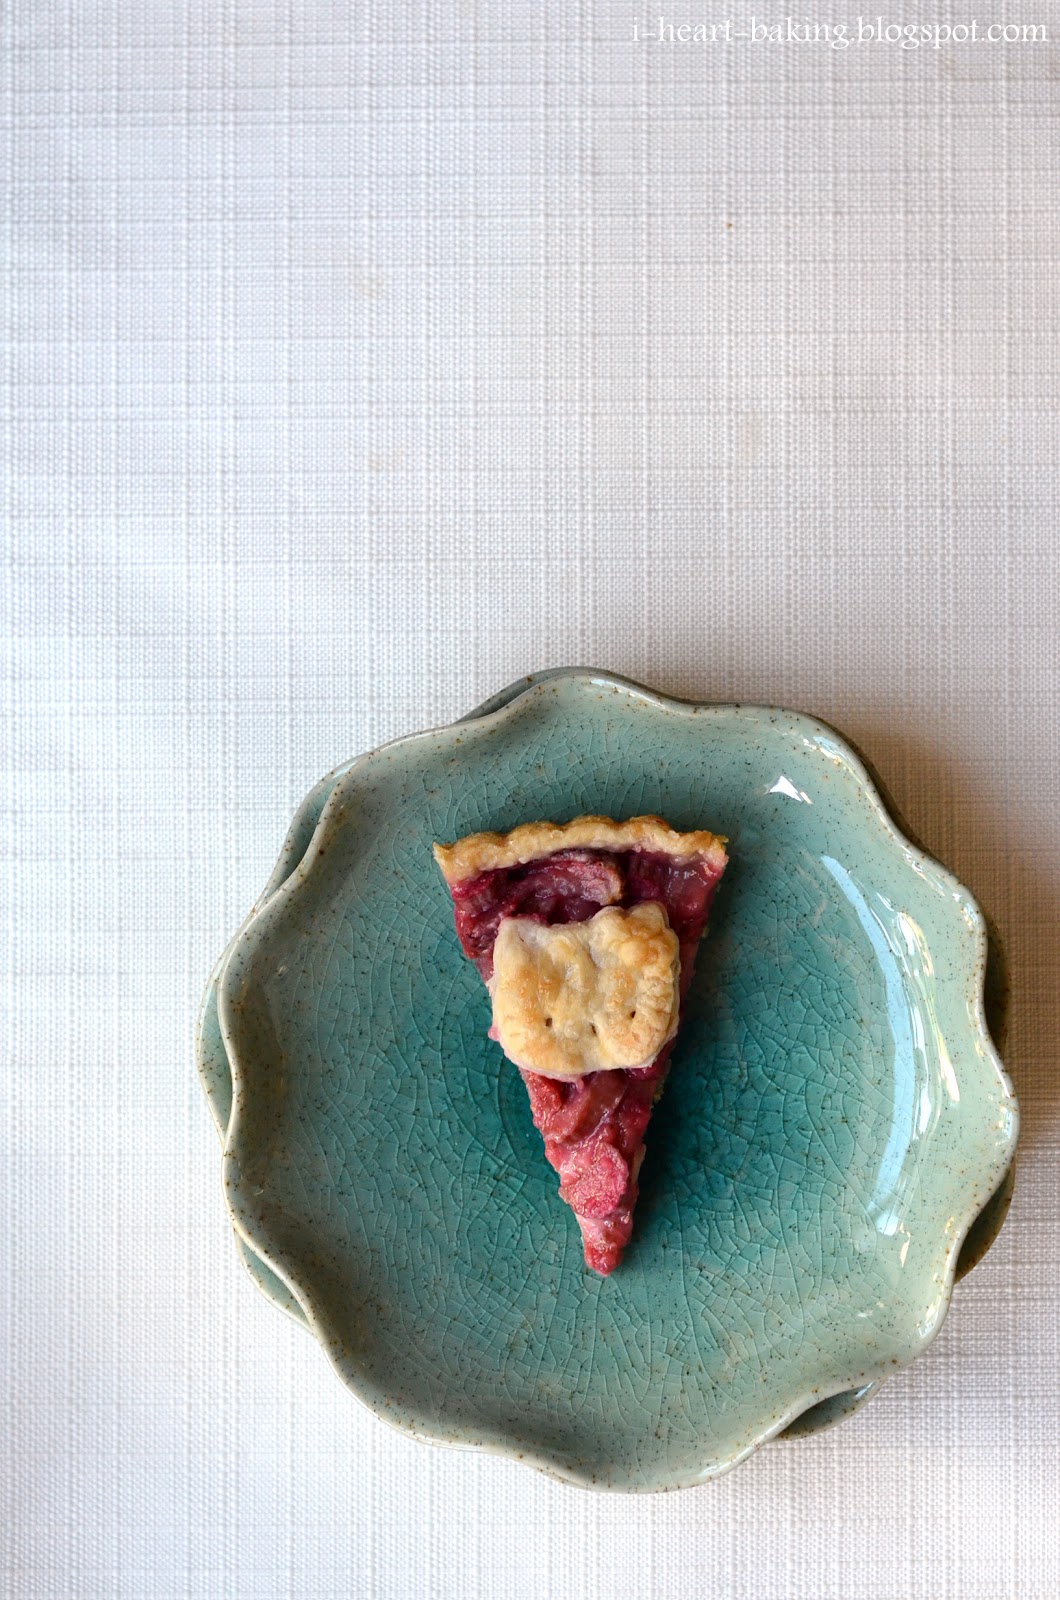
After filling each tart pan to the top, I used the extra pie crust dough and a small Hello Kitty cookie cutter to cut out my shapes for the tops of the tart.


After brushing the tops with egg wash and dusting them with sanding sugar, they were ready for the oven!  I baked them at 350F for about 50 minutes, until they were golden brown.


My favorite way to eat these was to take bites all the way around the perimeter of the tartlet, so that I was left with just the Hello Kitty piece at the end, which I would pop in my mouth for the last bite!  Yum!


*** Update:
You can now find my recipe for Hello Kitty Strawberry Rhubarb Tartlets in my new book, "The Hello Kitty Baking Book"! Enjoy!

Tuesday, July 10, 2012

hello kitty strawberry rhubarb tart


After making the strawberry rhubarb mini tarts in a recent post, I decided to make one large strawberry rhubarb tart, with a twist - I wanted to use the extra pie crust dough to decorate the top of the tart with Hello Kitty!

So I made an all-butter pie crust, rolled it out, and carefully lined a 9-inch tart pan with the dough.  Then I rolled my rolling pin over the top of the tart pan to cut off the excess dough, and wrapped the extra dough in plastic wrap and put in the fridge for later.


For the filling, I again chopped rhubarb and strawberries into same-size pieces, then tossed them with sugar, flour, and a pinch of salt.


Then I filled my prepared tart pan with the strawberry rhubarb mixture, using a spatula to push the mixture out to the sides of the pan.


Next, I took my extra pie crust dough out of the fridge, rolled it out, and cut out a few Hello Kitty shapes with a cookie cutter.  Aren't they cute? :)


I only had enough extra dough for four Hello Kitty shapes, which I arranged on top of the tart.


Finally I used egg wash to brush on top of the Hello Kitty shapes and exposed pie crust, and then sprinkled on some sanding sugar.  Then I popped it in the oven and let it bake for almost an hour.  Once it was done and the crust was golden brown, I took it out and resisted the urge to cut into it right away, otherwise all the beautiful juices would flow out!  So I let it cool before cutting into it.


And there you have it.  Flaky crust, tart rhubarb, and juicy sweet strawberries, and all topped with Hello Kitty!  A perfect combination if you ask me!


*** Update:
You can now find my recipe for Hello Kitty Strawberry Rhubarb Tart in my new book, "The Hello Kitty Baking Book"! Enjoy!

Friday, June 29, 2012

strawberry rhubarb tartlets


In my last post on my recent obsession with making rhubarb tarts, I had used a new rectangular tart pan which delivered a different aesthetic to my tart, and I loved it.  This led me to order these mini tart pans, which escalated my tart-making obsession to another level!


For the crust, I made an all-butter pie crust, divided the dough into 6 equal portions, and rolled each one into a circle and carefully lined each tartlet pan.  Then I ran my rolling pin over the tops, in order to cut off the excess dough.


For the filling, I decided to add strawberries to my rhubarb, since I love that specific combination of flavors.  So I chopped my rhubarb and strawberries into same sized chunks, and then tossed them with sugar, flour, and a pinch of salt.


Then the tartlets were ready to be filled.  Usually I would arrange a nice pattern with my rhubarb when making regular-sized tarts, but in this case the strawberries were already starting to grow soft from the sugar and the rhubarb was chopped into chunks, and there wasn't really way to arrange them nicely.  So I just divided the filling among the prepared tartlet pans, and used a spatula to push the filling out to the edges.


After they baked for about 50 minutes, they were golden and beautiful!


They were best while still warm and fresh out of the oven!  But still good the next day as well.  The strawberries and rhubarb combined were divine, as the strawberries mellowed out the tartness of the rhubarb, and the colors together were just beautiful!


I decided that I like the mini tarts even better than one big tart, a) because the crust is even flakier and crispier - perhaps because it's a smaller amount of filling than in one large tart, and b) because you get a whole tart to yourself!

Sunday, June 24, 2012

rhubarb and honey tart


Last month, I went to the dentist three times.  There was a checkup visit, a second visit to replace two cracked fillings (during which I endured 3 painful shots to numb me which did not work), which led to a third visit to actually replace the fillings (this time I got numb after 4 painful shots, yay!).  As you can see from my Instagram picture, I wore my favorite Hello Kitty shoes to cheer myself up ... I was really nervous!


The day after my fillings were finally replaced, I announced out loud that I was going to make a rhubarb tart, to which my husband promptly reminded me, "Think of all the trips to the dentist you just had!"  But, fueled by my recent revisit to baking with rhubarb, I insisted that I must do it while rhubarb was still in season!  Although, I compromised with him - based on my husband's theory that honey doesn't give you cavities (question for you dentists out there - is this true?), I decided to try making this rhubarb tart with honey instead of sugar.


Usually I make my rhubarb tarts in this round tart pan with removeable bottom, but this time I chose to use my new rectangular tart pan (similar to this one).  So I made my favorite all-butter pie crust, and carefully rolled and lined my tart pan with the dough.


Then I sliced my rhubarb and mixed it with honey (about a half cup), a pinch of salt, and a couple of tablespoons of flour.


Then came the fun part - arranging it in the tart pan!  I've tried arranging it in a vertical pattern as seen here, as well as a horizontal pattern as seen here, but this time since I was using a rectangular tart pan I decided to make two long rows of rhubarb.


Then I brushed the exposed pie crust with egg wash, and sprinkled on a bit of sanding sugar before popping it in the oven.


After about 50 minutes in the oven, it was done!  By this time the whole house smelled delicious.


When I first sliced it, I didn't love the way the rectangular piece looked.  I was starting to think I should have made it in the round tart pan after all.


But then I realized that I could still slice it into triangular pieces.  In love with rectangular tart pan once more.


It's even better with a scoop of ice cream.  For breakfast.


With a cup of coffee to top it all off.  The end.


Wednesday, July 27, 2011

another rhubarb tart


While my cousin Angie was in town visiting again, we had a chance to do a little shopping together, and I found these adorable plates at Anthropologie!  I made another rhubarb tart that same night, and couldn't wait to use my new plate for the pictures.


This time around, I arranged the rhubarb batons in a different pattern - instead of lining them perpendicular to the edge of the tart pan, I lined them up to follow the curve of the pan, which ended up looking like an octagon design.


To accompany the tart, I made fresh strawberry whipped cream again (I could eat this whipped cream by the spoonful, all by itself!).


This is such a perfect summertime dessert - tart rhubarb, flaky crust, and smooth sweet whipped cream.  I hope rhubarb season stays around for a while longer!


Thursday, May 19, 2011

rhubarb tart with strawberry whipped cream


My cousin Angie was in town visiting over the weekend, and the day she arrived I picked her up from the airport and immediately whisked her off to the Chez Panisse Cafe for lunch.  Everything was delicious.  And my favorite part, of course, was dessert.  We shared a rhubarb tart with strawberry ice cream, and it was such a perfect combination.  I often see rhubarb-strawberry combinations in pie form, but I've never thought of having those same flavors in separate components served together.


Later on in the weekend, I decided to attempt a rhubarb tart, inspired by the one we'd had at Chez Panisse.  I made my favorite all-butter pie crust recipe (which is just flour, salt, sugar, butter, and ice water), and pressed it into a 9-inch tart pan with removable bottom.  Then I sliced my rhubarb stalks into skinny batons, and tossed them with flour, sugar, and a pinch of salt.  Finally I arranged them nicely on top of my prepared tart dough, and baked it at 350 F for a little over an hour.


I loved the way it looked when it came out of the oven ... the pattern from the rhubarb, the beautiful pink color, and the look of the crust dotted with sanding sugar that I had sprinkled on before baking ... and it smelled great too!


I had wanted to make strawberry ice cream to go with it also, but forgot to put my ice cream freezer bowl in the freezer that day, so it wouldn't have been cold enough in time to make ice cream in time.  Angie had the brilliant idea to make a strawberry whipped cream to go with it instead, which turned out to be a delicious compliment to the tart.  And it was so simple - after whipping the heavy cream with a bit of confectioner's sugar, I added pureed strawberries to taste, and whipped it until just combined.


When I served a slice of the cooled tart with a scoop of the strawberry whipped cream, we decided that the tart alone was a bit too tart, but with the strawberry whipped cream it was perfect!